You can take a look at how the TIM was just gooped on there. Very sloppy job, It's enough to cover 2-3 cards...literally. You can put the card aside for now. Next is onto the removal of the second GPU.
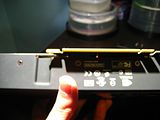
Step 6. The GTX shroud cover that covers the entire card needs to be unscrewed. Get your Phillips star, and unscrew the three on the back side, and the one on the front left. As shown below. Now, here is the tricky part. There are two screw’s behind the BFG tech GTX 295 sticker, this you MUST be very careful with, you are going need this off. Carefully peel one side, make sure the sticker isn’t ripping. For the most part, these stickers aren’t stuck on so it is fairly easy to come off. Once its off place it aside. Remove the two screws that were uncovered.
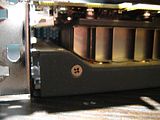
Step 7. Holding the uncovered portion of the heat sink, firmly grip the shroud and pull down. It should now be off and look like this.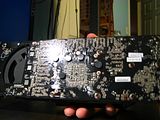
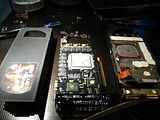
Step 8. With the bottom card uncovered I have highlighted the screws that need to come off, my apologies for the horrible picture it's blurry but you can still see what needs to come off. Put these screws separate from the top cards screw’s.
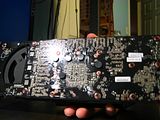
Step 9. You should now be able to pull apart the bottom GPU card from the heat sink.
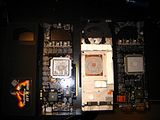
Step 10. Get your paper towel or terry cloth and begin to clean off all the excess TIM from both GPU’s and both sides of the heat sink.
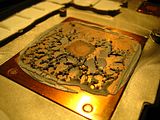
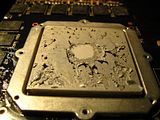
Step 11. Once all the TIM has been removed, get your isopropynol and dab some on a piece of clean paper towel or terry cloth. Begin to clean the GPU surface until it looks new. Do the same on the copper portion of the heat sink.
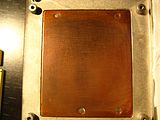
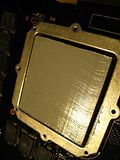
Step 12. Now that all surfaces are cleaned you can go ahead and get the TIM of your choice. I am old fashioned and I prefer to evenly spread the TIM before I replace the heat sink. Some prefer to do the rice grain sized blob in the center. I did it my way, which is applying two lines diagonally or vertically across the GPU one in the center and the other on the end. I then get an old business card, or plastic card that I am not using and EVENLY spread a thin layer across the GPU, and it looks like this.
0 comments:
Post a Comment